Some Of My Favorite Kid Friendly Halloween Crafts

My mother always took time out of her busy day (raising three kids and taking care of a house!) to do arts and crafts with us, especially around the holidays. She always said that it takes too long between birthdays and Christmas for kids so you need to make every holiday as special as you can. Even Valentine’s and St Patrick’s Day were big to-dos at our house!
Halloween was one of my favorite holidays though, though I can only remember dressing up as one thing – a princess. Each year we’d come home from school on trick or treat night to find Mama sitting at a table making us new princess crowns. She’d cut out the shape from cardboard and then cover it entirely in aluminum foil. My sister Patti and I would then put on our long flannel nightgowns with the little rosebud print (we always had some like this because Mama made them for us) and our crowns and head off, feeling every bit as much a princess as anyone could!
My brother had been given a Batman mask when he was very young and he wore it every year. It’s hard to imagine kids these days getting excited about wearing the same costume year after year, but those were our good old days and today’s kids are making their own brand of good old days anyway.
With these crafts though, we can incorporate a bit of the old and a bit of the new, in the process creating some great memories together- and making yourself the “cool” person in the eyes of a child.
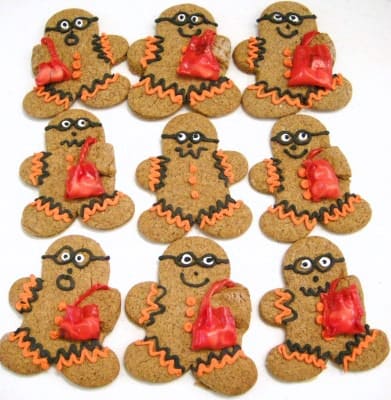
The instructions for all of the pictured crafts are below but when you’re done, don’t forget to check out my Gingerbread Trick or Treaters! Click here to go to that post 🙂
Bath Tissue Pumpkins
These are my little pumpkins that I always do for preschool and kindergarten class parties. The kids have a ball with them and love that they can do every bit themselves. A neat idea is to have each child bring two rolls of tissue paper with them to class. One of the rolls can then be turned into this pumpkin and the other roll can be used in a mummy contest :).
In the past I’ve had the kids wrap the teacher, a parent, or get into teams of two and wrap each other. Lots of fun regardless.
I start with a yard of fabric. Go for the cheap here. Cut that yard into fourths like this.
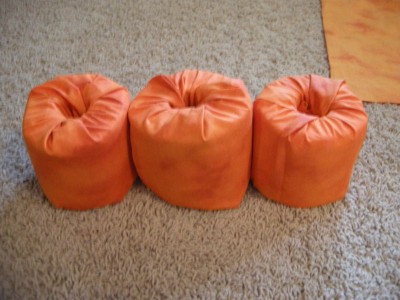
Take each fourth and roll up a roll of tissue paper in it.
Like so.
Tuck the ends in.
Like so 🙂
Now lay out your green fabric. I usually buy 1/4 of a yard for this. Don’t feel like you have to get a solid green as a tone on tone is usually more interesting anyway.
Cut a small strip (my strip is about two inches wide)
Fold that over in half…
And then fold the sides over (you don’t have to do it this way, you can just tuck a piece of fabric in there without any folding at all)
Tuck in the end.
Let kids cut out faces and glue on if you like and you have cute little pumpkins that can be placed anywhere in your house!
~waves at cute little punkin~
~~~~~~~~~~~~~~~~~
Magic Cheesecloth Ghosts
Now this is one of those crafts we did as a kid that made us think our Mama just HAD to be magic! The “ghosts” stand on their own thanks to the help of handy dandy liquid starch, and this one will impress kids of all ages!
You’ll need: Liquid starch (found on the laundry detergent aisle), cheese cloth (found in a package in the craft and fabric department – you might have to ask), a few balloons, a few pencils, some tape, and some black felt. Oh, and also two tall drinking glasses 🙂
Blow up each balloon to form the head for your ghost. Place each one over a glass. Place the pencil over the glass as well and tape into place.
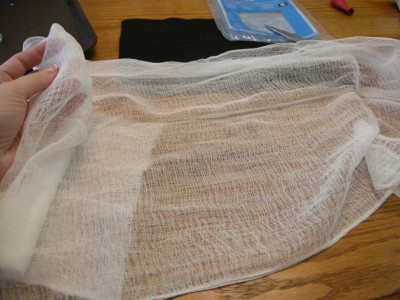
Roll out your cheese cloth and cut a piece long enough to drape over both sides of your balloon and glass and still pool a little bit at the bottom. I cut two pieces of fabric for each ghost.
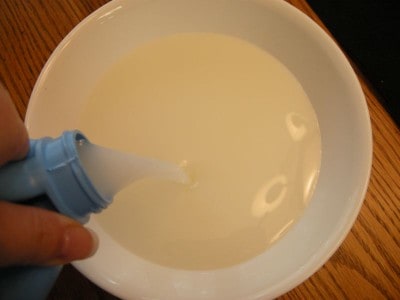
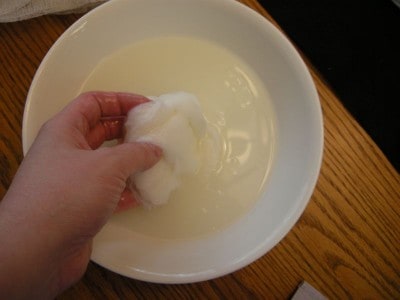
Pour liquid starch into bowl.
Completely submerge cheesecloth into starch and lift out, squeezing only slightly.
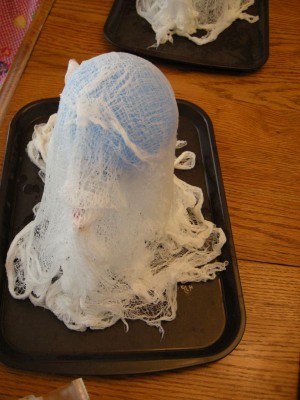
Drape two pieces of cheese cloth over each balloon, making sure it pools a bit at the bottom as that is what will support your ghost.
I think this is Katy looking scared… ~tilts her head and examines photograph~ yeah, thats what she’s doing. 🙂
I like to do this on trays but you can just line your table with a little waxed paper so long as the ghosts can sit there undisturbed. Mine took two days to dry completely.
When completely dry, pop balloon and remove ghost from top of glass….
Use black felt to glue eyes and mouths on them and enjoy your little ghosts!
~~~~~~~~~~~~~~~~
Friendly Lollipop Ghosts
This is an oldie but goodie. My kids have every bit as much fun making these today as I did when I was a kid.
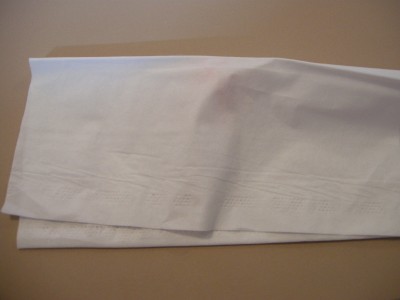
Place a dum dum (or other small sucker) in the center of a white tissue…
Fold the top over…
Gather it together and tie a little bow with some yarn (if you use red yarn you can use it again for a Christmas craft!)
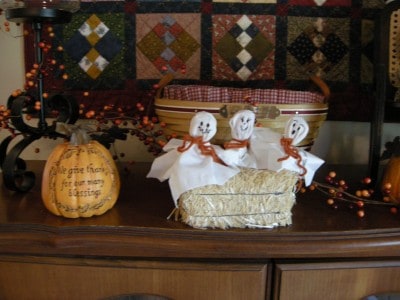
Draw little faces on the little guys…
Use them to decorate your house, but know they won’t last long! 🙂
Be a giver…You always have something to give…even if it is only a smile. You can make someone’s day with your smile.
Submitted by Margaret. To submit your quote and read a wealth of others submitted by members of the Southern Plate family, click here.
Join the Family on Facebook here.
Subscribe to Southern Plate by email here.











![[year] Bountiful Basket](https://southernplate.com/wp-content/uploads/2009/08/basket-1381.jpg)
![My Favorite Things [year]](https://southernplate.com/wp-content/uploads/2019/12/my-favorite-things.jpg)
![Top 10 Recipes of [year]](https://southernplate.com/wp-content/uploads/2017/12/TOP-10-1.png)
Christy,
I loved your story of halloween. And I can’t imagine you being anything but a princess. After all you’re our Southern Plate princess. And we will be forever grateful to Queen Mama for bringing you into this world. Have a fun and safe Halloween!
I love the pumpkin idea! So simple! And, when disassembled. . .easy to store and even redo next year! I remember making my first lollipop ghost in Brownie scouts. I thought it was great!
I just made those lollipop ghosts for my two boys’ preschool classes. So cute and the kids will get such a kick out of them!
My son was born on Halloween, so it was always a big deal at our house. Since i sew, I always made him a new pair af pajamas in his favorite hero. Once he was Superman, another time he was Batman. After his brother came along I had to do two costumes. I always had fun fixing them up.
I really like your ghosts. They remind me of Christmas ornaments that I made for our first Christmas. I blew up balloons and dipped string in the starch, then around an all over the balloons. After they dried I popped the balloons and glued on some glitter. I miss doing things like that, both my sons are past 35 and no grandkids, but i do have nieces to help on occasion. They always come to me for ideas, so I get to do crafty things with them.
Thanks for the memories of making things at home.
Christy I love these. A friend was just asking about some not so expensive Halloween decorations. Once again you came and saved the day.
We are so blessed to have you in our mist. Have a wonderful weekend. Hugs.