Canning: THE MUSICAL! (Canning Tutorial)
Welcome to Southern Plate’s Canning Tutorial, complete with music!
At the bottom of this post you’ll find additional handy recipes for home canning. This video is just another sign that I have an incredibly low threshold for boredom!
Introduction To Canning (Formerly known as “Canning: THE MUSICAL!” from Christy SouthernPlate.com on Vimeo.
Canning is an incredibly gratifying and simple process. I love to give home canned jams and preserves as Christmas gifts and this is the prime time of year with fruit in abundance. Whats more, canning can be very economical, especially when you save and reuse your canning jars! If you’re in on the new trend of “going green” this is a great compliment to your efforts.
A lot of people have never attempted canning. Whether they are intimidated or just don’t know where to begin, I am going to show you just how easy it is in this tutorial! I will be focusing on water bath canning. This method works great for high acid foods such as fruits and some vegetables. For meats and other food goods, you’ll need to use the pressure canning method.
No matter which method you use, a current book on home canning is essential. These books offer recipes as well as processing times. There are many available at bookstores and grocers, but I personally recommend contacting your Cooperative Extension Service for a copy of theirs.
The Cooperative Extension Service is a government funded agency with experts in a variety of fields on hand to serve the public by offering much needed information and education. Did you know that your local extension has an expert in food preservation and nutrition on staff? Once you learn to utilize this amazing resource you won’t know how you lived without them! Most extension services even offer classes on different methods of cooking, food preservation, and other topics that can make your life easier as well as further your education – all for little or no cost. To find the extension service nearest to you, visit this link.
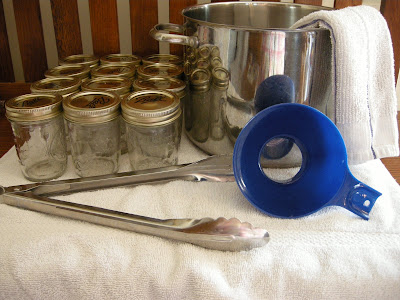
I made it a point not to use any special equipment for this tutorial. I wanted you to be able to can with things you had around your house as your main equipment. The one thing I did use was my canning funnel. You don’t have to use this at all. In fact, before I had mine I just used a liquid measuring cup to pour my jams into the jars. I’m exceptionally messy though, so I need my special canning funnel.
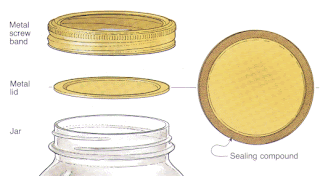
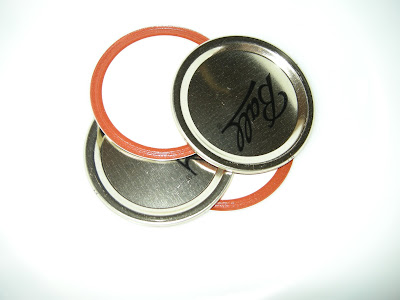
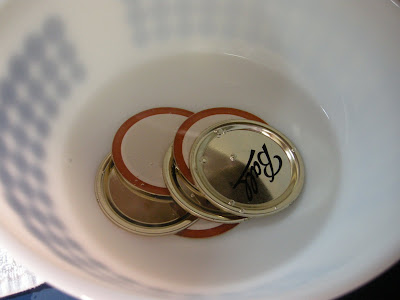
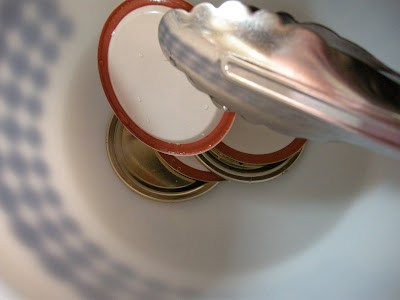
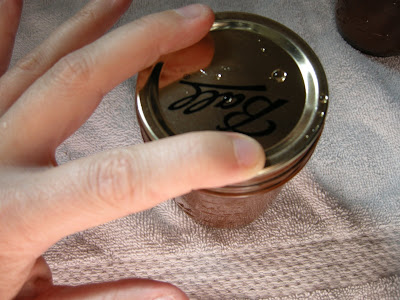
The above photo shows the canning jar, metal lid, and metal screw band. On the underside of the metal lid there is a sealing compound. You must always use new metal lid inserts each time you can but the screw band and jar are reusable. The rings around the top of the jar are called “lugs”. This will be helpful later when determining how much head space to leave at the top – or how high we should fill it basically.
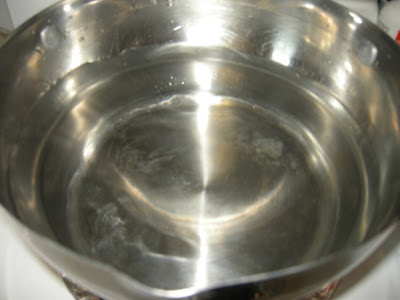
Of course you can go to the expense of purchasing a water bath canner, which comes with a rack that holds your jars away from the bottom.
I asked my mother if she had ever used one and she said she had one once, but ended up selling it at a yard sale. For us, its just easier to do it this way and not have to find more space to store a large and cumbersome pot. I can see how serious canners might enjoy one, though. I’m more of a hobbyist canner.
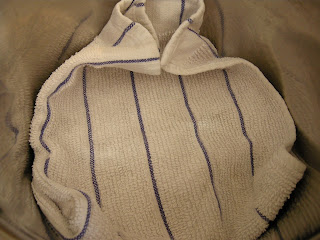
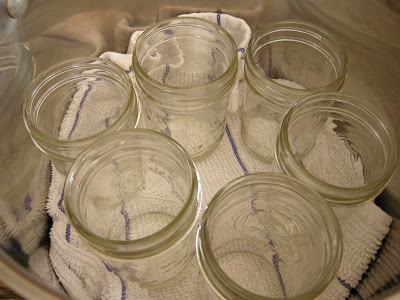
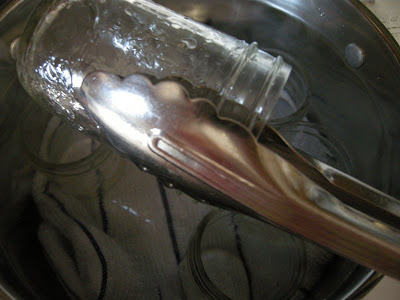
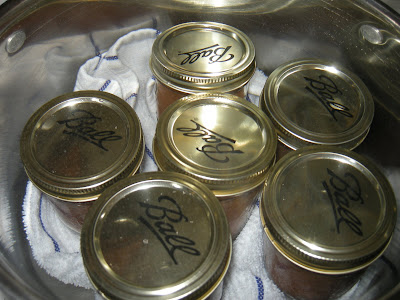
Place jars in bottom of your pot on top of the towel. We are only going to can as many as we can fit in one load and then do a second batch after we finish the first.
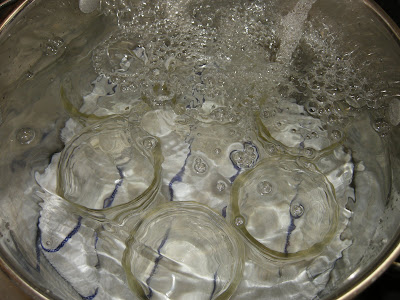
Now your jars are sterilized and ready to be filled! Make sure the liquid you are filling them with is hot.
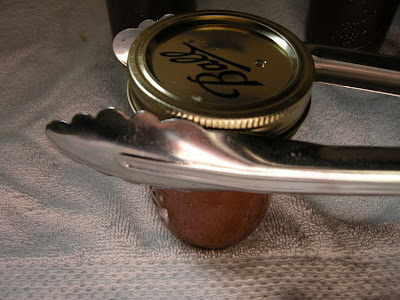
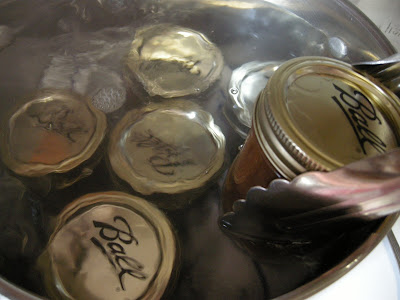
Your jars are going to be hot so pick them up with the tongs and place them carefully back into your pot, on top of the towel in the bottom.
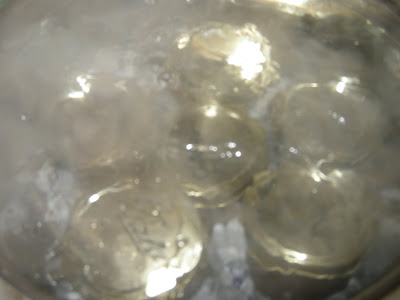
When the time is up, turn the heat off and carefully remove the lid. Using your tongs, remove each jar from the pot and place on a towel lined counter to cool. These are some very strong tongs I am using but I still like to have a pot holder in my left hand to kind of support the bottom of the jar while I am moving it from my pot to the towel.
However, if it isn’t sealed the next day there are two options. You can remove the ring and lid and replace with a new metal lid insert and process again or you can simply refrigerate the jar and begin using it.
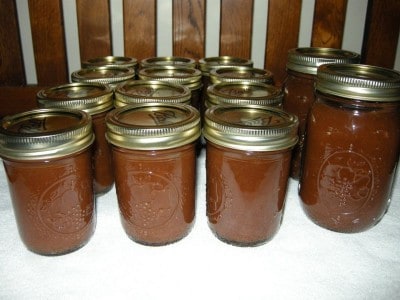
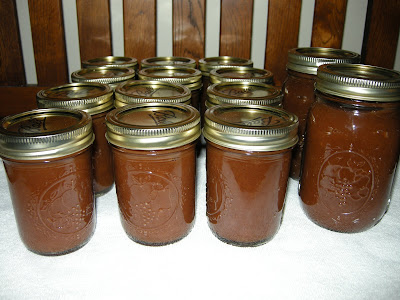
My one crock pot yielded a dozen half pint jars and two pint jars of apple butter!
~~~~~~~~~~~~~~~~~~~~~~~~~~~~~~~~~~~~~~~~~~~~~~~~~~~~~~~~~~~~~~~~~~~~~~~~~
Peach Preserves
(Makes about 7 half pints)
10 large peaches
6 Cups sugar
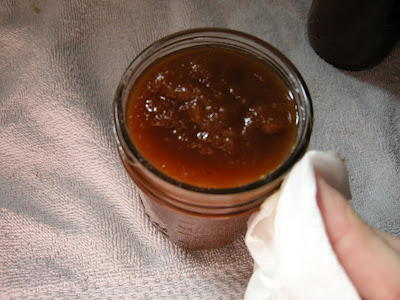
Use hard, ripe peches. Wash peaches, Dip them in boiling water for 30-60 seconds until skins loosen. Then, dip them quickly in cold water and slip off skins. Cut in half, remove pits, and cut them in slices. Combine peaches and sugar in a large, thick-bottom saucepan and let htem sit for twelve to eighteen hours in a cool place. Then, heat peach mixture slowly to a boil, stirring often to prevent sticking. Boil gently until fruit is clear and syrup is thick, about 40 minutes. As mixture thickens, stir frequently to prevent sticking. Remove from ehat nad quickly skim off foam, if neccesary. Fill hot jars immediatelyw ith peaches, leaving 1/4 inch head space. Add boiling syrup to cover peaces, leaving same 1/4 inch head space. Wipe jar rims and apply lids.
Process in boiling water bath.
Half pints, 5 minutes.
Pints, 10 minutes.
~~~~~~~~~~~~~~~~~~~~~~~~~~~~~~~~~
Pear Preserves
(makes about 5 half pints)
6 medium sized pears
2 1/2 C water
1 lemon
1 1/2 C sugar
1 1/2 C sugar
Use hard, ripe pears. Wash pears and peel them. Cut them in halves or quarters and remove cores. Wash lemon and cut it into thin slices. Combine 1 1/2 C sugar dn water in large, thick bottom saucepan. Heat over high heat and boil for 2 minutes. Add pears, reduce heat, and boil gently for 15 minutes. Add 1 1/2 C sugar adn lemon slices. Stir until sugar dissolves. Then, increase heat and boil rapidly until pears are clear, about 25 minutes. Remove pan from heat, cover it, and let pears sit for 12 to 24 hours in a cool place. Then, heat pears and syrup to boiling. Fill hot jars immediately with pears, leaving 1/2 Inch head space. Add boiling syrup to cover pears, leaving 1/4 inch head space. Wipe jar rims and apply lids.
Process in boiling water bath.
Half pints, 5 minutes
Whole pints, 10 minutes.
~~~~~~~~~~~~~~~~~~~~~~~~~~~~~~~~~~
Peach Butter
(Makes about 8 half pints)
18 medium sized peaches
4 cups sugar
Use fully ripe peaches that have no insect or disease damage. Wash peaches and dip in boiling water for 30 to 60 seconds until skins loosen. Dip quickly in cold water and slip off skins. Cut peaches in half, remove pits, and chop. Place in large, thick bottom sauce pan and cook until soft, adding only enough water to prevent sticking. Press peaches through a sieve or food mill. Mreasure pul. Place two quarts peach pulp in saucepan. Add sugar and cook until butter is thick and has taken on a glossiness or sheen. As mixture thickens, stir frequently to prevent sticking. Fill hot jars immediately with the butter, leaving a 1/4 inch head space. Wipe jar rims and apply lids.
Process in boiling water bath.
Half pints, 5 minutes
Pints, 10 minutes
~~~~~~~~~~~~~~~~~~~~~~~~~~~~~~~~~
Orange Lemon Marmalade
(Makes about 4 half pints)
4 oranges
4 lemons
sugar
water
1/4 tsp canning salt
Use smooth, thick skinned, well colored fruit that is free of blemishes. Peel oranges and lemons and remove white membrane beneath peeling. Set fruit pulp aside. Slice peeling into very thin strips. Parboil strips of peeling three times by adding 1 quart of cold water to strips in a large, thick bottom saucepan, bringing to a boil, boiling five minutes. Then, drain and discard water after each cooking. Cut pulp of fruit into thin slices and remove membranes. Combine pul and drained, parboiled peel. Measure fuit (pulp, juice, and parboiled peel) into large saucepan. Add 3 cups water for each cup of fruit mixture. Boil mixture rapidly for 40 minutes. Measure fruit mixture again adn add 1 cup sugar for each cup of fruit. Add salt. boil mixture on high heat for fifteen minutes. If a thicker marmalade is desired, boil longer but stir and watch carefully to avoid scorching. Remove from heat and let stand until slightly cool. Then, stir to distribute fruit equally. Fill hot jars immediately with marmalde, leaving 1/4 inch head space. Wipe jar rims and apply lids.
Process in boiling water bath
Half pints, 5 minutes
Pints, 15 minutes






I am looking for a good zucchini sweet relish recipe to can, I had a great recipe and I simply can not find it. Every year I search for it to no avail. I have tried several different ones but they are not nearly as sweet and don’t have cinnamon in them. I have even stuck a couple of cinnamon sticks in the pot while I have cooked it…better, but not what I am looking for.
I have made the slow cooker apple butter a few times, great way to fix it. The last time I made it I decided to try adding some orange zest and the juice of half of the orange. It was beyond delicious! Shared it with some friends and my children. Lots of good remarks about it.
Well now you have me wanting to find a sweet zucchini relish! I’ve never heard of it but will definitely keep an eye out now and report back if I find a good one 🙂 Thank you Audrey, sounds wonderful!
When you say sweet are you thinking like a jam level of sweet or like a sweet spicy pickle?
Hi Christy!!
I’ve never done canning.. I’ll try it for the first time this weekend with the apple butter recipe. If all comes out well (cross my fingers XX) I will make a lot for my co-workers. They are awesome people and I would like to do something nice for them this year.
Thank you for your recipes and the newsletter.
Lots of love from Miami!!!
Carrie
Christy I am going to try Peach Marmalade. Going to South Georgia to get peaches this week. I enjoyed you canning instructions. Thank you so very much. Wish me luck.
Thank you so much Jeri, I hope you enjoy the marmalade, I know you will do just fine but just in case: Good Luck!!!
I have written before and never heard back you must be really busy I love your accent and your recipes I would love to live in the country like you god willing he someday will answer my desires of my heart as I learn to seek him I was wondering if you have recipes for tomatoes relish green tomatoes relish slippery jacks isles etc when you have a minute please respond god has certainly blessed you and your family take care god bless tammy
Hey Tammy! I actually don’t live in the country but my heart does 🙂 I’ve just made a little country spot where my house is in the city. I’m not sure what a slippery jack isles is and I don’t have a good tomato relish recipe up yet (although I do have a corn relish that has tomatoes in it). Here are a few links to recipes you might like:
Corn Relish https://southernplatecom.bigscoots-staging.com/2010/07/corn-relish.html
Tomato Pie: https://southernplatecom.bigscoots-staging.com/2012/06/tomato-pie.html
Tomato Chips: https://southernplatecom.bigscoots-staging.com/2014/04/tomato-chips.html
Fried Green Tomatoes:https://southernplatecom.bigscoots-staging.com/2008/07/fried-green-tomatoes.html
Granny’s Chow Chow (from a reader) https://southernplatecom.bigscoots-staging.com/2011/06/grannys-chow-chow-from-joyce-bacon.html
This is my first time canning apple butter so I followed your instructions. So far all of them have turned out great except the last bunch on jar fell over. Why is this and will it still seal?
I didn’t see the recipe there for apple butter. I will try to search the blog to find it. I used to love apple butter when we went to visit grandparents in Tennessee. I don’t remember theirs being home canned which is surprising to me as they canned beans, corn, peans and potatoes, creamed corn, pickled beets (that is something else I’d like to see or find more recipes for beets and in knowing when they are best for eating. They canned tomatoes as well and okra. I can’t remember more but I am sure they did. My grandfather canned as they grew older and he still used the old wood stove as that was what he was more familiar with and he canned in a big dining room. The kitchen stove was electric and was in the kitchen which was a smaller room. They had a bedroom/sitting room combination with a stove in it (used to be wood and then coal burner and then their kids got them an oil burner). There was another room like a formal living room which we went to if we were overheated. upstairs was not heated but the vents were open in the floors with grates over them so the heated air could come up. We slept snugly under handmade quilts and tied quilts with all that batten inside. When the train came by it felt like it was going to come right through our upstairs bedroom.